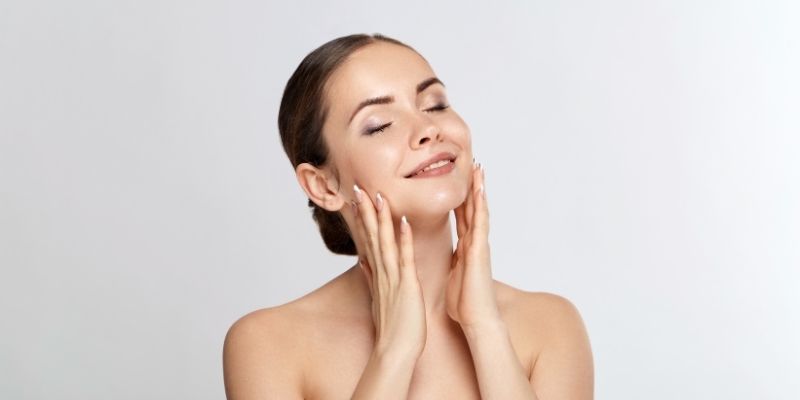


A relaxing break to release pressure, ease tension, and take a moment for yourself is possible thanks to Do-In. This self-massage technique, derived from Shiatsu, is the solution to your everyday worries. It can be practiced wherever you are and at any time of day!
Shiatsu practitioner Hannah Iltis shared with us all the secrets of Do-In. Below are her many tips and explanations.
The term "Do-In" comes from the Japanese words "Do," meaning "the way," and "In," meaning "energy." Inspired by traditional Chinese massage techniques, this Shiatsu derivative acts directly on our energy cycle. Just like the blood in our veins, energy circulates throughout our body along meridians, each corresponding to an organ.
But what are its benefits and virtues?
Its benefits are numerous and affect all parts of our body and mind:
- Increases vitality
- Combats difficulty falling asleep
- Helps to address everyday tensions
- Promotes good mood and good shape from the morning and throughout the day
- Relieves excess stress
- Complete a medical action
- Maintains the general condition of our body
Easy and suitable for everyone, Do-In primarily involves massaging your own joints with your own hands. It only requires knowledge of the correct movements to stimulate the circulation of energy in the body and thus improve its functioning. That's why, with the help and guidance of Shiatsu practitioner Hannah Iltis, we offer a "user guide" to help you become more familiar with these ancient techniques.
The basic gestures of Do-In
The first basic gesture consists of exerting pressure with the tip of a finger, pressing with the fleshy part of the finger perpendicular to the area being massaged.
At the same time as the finger exerts pressure, a centripetal circular motion is applied. This quick and light movement aims to concentrate the energy on the area to be treated. Conversely, a centrifugal movement of the same nature will have the effect of dispersing the energy. Let your intuition guide you when choosing the direction of rotation, as with centrifugal or centripetal mode.
Most often, the basic gesture is used by using the thumb and index finger or the thumb and middle finger, which act simultaneously opposite each other. We will also see that for certain large areas, we use three fingers (index, middle, ring) simultaneously.
The second basic gesture is to practice percussion, using the fingertips. Percussion can also be practiced with a half-closed fist. In this case, think about having the softness that a strike with the fingertips would have. Finally, the strike can also be performed with the palm of the hand, keeping the fingers together to strike a large area such as the bottom of the foot, for example.
The third basic gesture is smoothing, which consists of rubbing the area to be treated with your hand.
At each point of application, the basic gestures are repeated several times, perhaps two, three, or even five times. For this too, let yourself be guided by your intuition.
Basic gestures for the hands, wrists and arms
Recommended use: every day, once or several times.
- Take the first joint of the left thumb between the thumb and index finger of the right hand. Massage in a circular motion, two or three times, from below and above, then from the right and left side of the joint.
Proceed in the same way for the 2nd then the 3rd joint.
Rotate the finger on its base. Stretch the finger.
Do the same for the other fingers of the left hand.
- with 3 fingers of the right hand, smooth the back of the left hand several times, going from the roots of the fingers to the wrist.
Massage the palm of your left hand with the thumb of your right hand, rotating and applying light pressure. Pay attention to sensitive points and apply more pressure if necessary.
- Take the fingers of the left hand in the right hand, raise and lower the fingers several times.
- Rotate your hand around your wrist in one direction and then the other.
Smooth the left wrist by wrapping it with the right hand.
- Smooth the left arm several times with the right hand, from the wrist to the shoulder on the top of the arm then back down from the armpit to the wrist on the underside of the arm.
Stretch your arm upwards and bring it back alongside your body.
- Same operations for the right side.
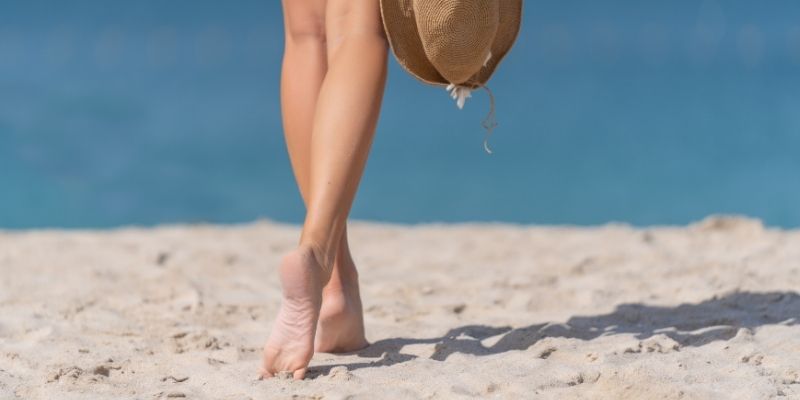
Basic movements for the feet, ankles and legs
Recommended use: every day, once or several times.
- Take the first joint of the left big toe between the thumb and index finger of your right hand. Massage in circular motions two or three times, from below and above, then to the right and left of the joint.
Proceed in the same way for the other joints.
Rotate the big toe on its base. Then stretch it
Do the same for the other toes of the left foot.
- Using the 4 fingers of your right hand, smooth the top of your left foot several times, going from the root of your toes towards your ankle.
Massage the hollow of your left foot with the fingers of your right hand, rotating and applying light pressure. Pay attention to sensitive areas and press a little more if necessary.
- Take the left toes in the right hand, raise and lower them several times.
- Rotate your foot around your ankle in one direction and the other.
Smooth the left ankle by wrapping it with the right hand.
- Smooth the left leg several times with the right or left hand, from the ankle to the pelvis on the inside, then back down from the pelvis to the ankle on the outside of the leg.
Stretch the leg and bring it back to rest.
- Same operations for the right side.
By following this link, you will find Hannah Iltis 's website, for more information on Shiatsu and the MEBP® Technique (Massage for children with special needs) or to make an appointment online.
https://www.shiatsu-les-mains-de-lequilibre.com/